You can paint a stunning rose in 7 easy steps! First, gather your essential supplies, including a canvas, palette, and brushes. Next, lightly sketch the rose's basic shape, starting with the center and working outwards. Mix colors to achieve realistic hues, then paint the outer petals, gradually building up color and adding gentle curves. Add inner petals and details, creating subtle variations in color and texture. Enhance your rose with shading and texture, incorporating depth cues and dimension. Finally, add finishing touches and highlights, bringing your rose to life. Now, get ready to refine your skills and reveal the full beauty of your rose!
Key Takeaways
- Select a high-quality canvas and a comfortable painting surface to ensure a smooth painting experience.
- Sketch the rose gently with soft strokes, starting with the center and working outwards to define the shape.
- Mix a harmonious color palette using earth tones and subtle variations to create depth and dimension.
- Paint the rose with gentle, curved brushstrokes, building up color gradually and feathering edges for a seamless shift.
- Add depth and dimension with shading and highlights, using soft brushstrokes and layering techniques to create a lifelike rose.
Gather Essential Painting Supplies

As you set out on your rose-painting journey, gathering essential painting supplies is the first crucial step.
This guarantees you're well-prepared and safe while creating your masterpiece. Start by selecting a high-quality canvas that's specifically designed for oil or acrylic painting, depending on your preferred medium.
Choose a size that feels comfortable for you, considering the scale of your rose design. In the same way that community gardening brings people together to cultivate a shared space, having the right tools will help you cultivate your artistic vision.
Many artists find that working with a variety of brushes and paints allows them to explore different techniques and styles, much like how Indigenous gardens have been used to cultivate a diverse range of plants and crops.
Next, invest in a sturdy, portable palette that allows for easy mixing and organizing of your paints.
Look for one with separate wells for each color to prevent muddying and contamination. You'll also need a set of high-quality brushes in various sizes and shapes to achieve the desired textures and effects.
Don't forget to grab a palette knife for blending and mixing, as well as a container for water and a cloth for cleaning your brushes.
Finally, pick a comfortable, ergonomic painting surface that provides good support and stability.
With these essentials in hand, you'll be ready to plunge into the creative process and bring your rose to life.
Sketch the Rose's Basic Shape
You're now ready to transfer your rose design onto the canvas. Take a deep breath, and let's get started! Using a pencil, lightly sketch the basic shape of the rose. Don't worry too much about the details; we'll get to those later.
| Step | Action | Tips |
|---|---|---|
| 1 | Sketch the center of the rose | Use gentle, soft strokes to create a small circle |
| 2 | Add the outer petals | Start with the largest petals and work your way inwards |
| 3 | Define the rose's shape | Use soft, flowing lines to connect the petals |
| 4 | Refine the edges | Use a smaller brush to add subtle curves and details |
Remember to keep your strokes light and gentle, as you can always add more detail later. Don't press too hard on the pencil, as this can create unwanted marks on your canvas. Take your time, and focus on capturing the overall shape and proportions of the rose. You're doing great!
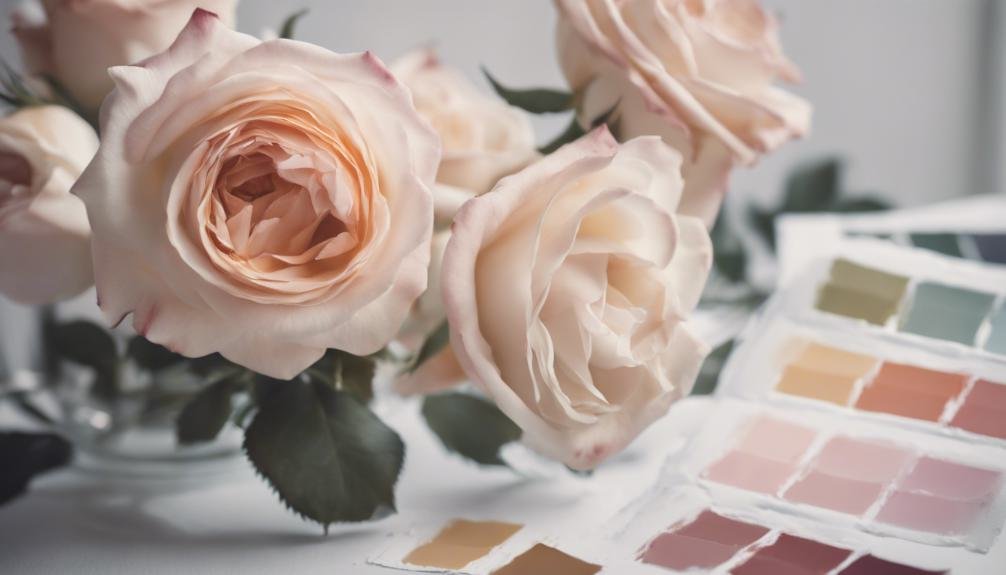
Mix Colors for Realistic Hues

You'll create a more realistic rose by understanding the basics of color theory, which will help you mix earthy tones that bring your flower to life.
Remember, earth tones matter when it comes to capturing the rose's natural beauty, so get familiar with hues like ochre, sienna, and umber.
The calyx, the outermost whorl of the flower, often has a greenish hue, so consider adding a touch of greenish tint to your color mix.
Additionally, the androecium, or stamens, can have a slightly yellowish tone, which can be achieved by adding a hint of yellow ochre.
Now, let's explore how to tweak these colors by adding tints and shades to achieve the perfect balance of light and darkness.
Color Theory Basics
When mixing colors to achieve realistic hues, understanding color theory basics is essential.
You'll want to know how to combine colors to create a harmonious palette. Start by learning about the color wheel, which is a circular representation of colors.
The color wheel helps you identify primary colors (red, yellow, and blue), secondary colors (orange, green, and violet), and tertiary colors (colors created by mixing primary and secondary colors).
To mix colors, you'll need to understand the concept of warm and cool colors. Warm colors, like red and orange, evoke feelings of warmth, while cool colors, like blue and green, evoke feelings of calmness.
You can create a range of colors by mixing warm and cool colors. For example, mixing a warm color with a cool color can create a neutral tone.
Earth Tones Matter
How do earth tones fit into the grand scheme of painting a rose?
They're the key to creating realistic, natural-looking hues. Earth tones are the foundation of a rose's color palette, providing warmth and depth to your painting. Think of them as the soil from which your rose will bloom.
To mix earth tones, start with your primary colors – red, yellow, and blue.
Combine these colors in various ratios to create a range of earthy shades, from terracotta to sienna. You can also add a touch of brown or black to deepen the color and create rich, muted tones.
When mixing earth tones, remember that less is often more.
Start with small amounts of color and gradually build up to achieve the desired shade. This will help you avoid muddy, over-saturated colors that can detract from your rose's beauty.
Tint and Shade
Now that you've laid the foundation with earth tones, it's time to bring your rose to life with tints and shades.
Mixing colors is all about creating realistic hues that capture the delicate beauty of the rose.
To do this, you'll need to understand how to tint and shade your colors.
Tinting involves adding white to a color to create a lighter, more pastel version.
You can use titanium dioxide to create a range of soft, delicate tints that will add depth and dimension to your rose.
Start with a small amount of white and gradually add more until you achieve the desired shade.
Shading, on the other hand, involves adding black or a darker version of the color to create a richer, deeper hue.
This will help create the illusion of depth and dimension in your rose.
Remember to mix your shades carefully, as it's easy to overpower the color.
Paint the Rose's Outer Petals
Painting the outer petals of your rose requires a delicate touch and a gentle blending of colors.
You'll want to create soft, rounded curves that mimic the natural shape of a rose. Begin by mixing a light pink hue on your palette, adding a touch of white to achieve a soft, delicate tone.
The petals, collectively called the corolla, are almost or completely fiberless leaf-like structures that form the innermost whorl of the perianth floral organs.
Dip the tip of your brush into the paint, wiping off any excess on a paper towel. Gently sweep your brush in a curved motion, starting from the outer edge of the rose and working your way inward. Apply gentle pressure, gradually building up the color as you go.
As you work, blend the colors together, feathering the edges to create a seamless shift.
You can also use a damp brush to soften and blend the colors further. Remember to work patiently, taking your time to achieve a natural, organic look.
With each stroke, your rose begins to take shape, its outer petals unfolding like a delicate flower.
Add Inner Petals and Details

Your rose's outer petals are now delicately curved and softly colored, inviting you to add the delicate inner petals and details that bring it to life.
This is where you get to add the intricate details that make your flower truly special. Start by painting the inner petals, gently curving them towards the center of the flower.
Use a smaller brush to create these petals, as they should be more delicate than the outer petals.
As you add the inner petals, pay attention to their shape and size. They should be slightly smaller and more rounded than the outer petals.
You can also add some subtle variations in color to give your rose more depth and dimension. Don't be afraid to experiment and adjust the shape and size of the petals as you go – it's all part of the creative process.
Enhance With Shading and Texture
You're ready to take your rose to the next level by adding depth cues that create a sense of dimension.
By incorporating texture and dimension, you'll give your petals a lifelike appearance that invites the viewer to touch.
Now, let's explore various shading techniques that will add volume and realism to your beautiful bloom.
Adding Depth Cues
As you gaze at your rose, notice how the gentle curves and intricate details seem to jump off the canvas.
Now it's time to add depth cues to create a more realistic and enchanting piece.
Start by mixing a range of shades with your acrylic paint, from soft pastels to rich jewel tones.
Use these shades to create gradual shifts from light to dark, suggesting the rose's three-dimensional form.
Add subtle shadows to the crevices and folds of the petals, and gentle highlights to the raised edges.
Pay attention to the areas where the light would naturally fall, such as the outer edges of the petals and the center of the rose.
By carefully balancing light and dark, you'll create a sense of depth and dimensionality that draws the viewer in.
Remember, the key is subtlety – you want to enhance the rose's natural beauty, not overpower it.
With practice and patience, you'll be amazed at how these simple techniques can bring your rose to life.
Texture and Dimension
While the gentle gradations of color have already begun to suggest the rose's three-dimensional form, it's time to take it to the next level by incorporating texture and dimension through shading and texture.
This is where you get to add some visual interest and really make your rose pop. Think about the soft, delicate petals and the rough, prickly stem. You can convey these textures through subtle variations in brushstrokes and color.
To create texture, experiment with different brushstrokes, like hatching and cross-hatching, to build up layers of color.
You can also use glazing techniques to achieve a sense of depth and luminosity. Don't be afraid to get creative and try new things – it's all part of the process.
Shading Techniques
Harmony is achieved when light and shadow dance across the petals of your rose, and it's time to master this delicate balance through shading techniques.
Shading brings depth and dimension to your rose, making it look more lifelike and mesmerizing.
- Use soft, gentle strokes to create subtle shifts between light and dark areas
- Experiment with different brush sizes and shapes to achieve varying textures and effects
- Pay attention to the direction of your brushstrokes, as they can suggest the curvature of the petals
- Don't be afraid to layer your shading, building up gradually to achieve the desired level of contrast
Finishing Touches and Highlights

You've invested time and effort into creating a beautiful rose, and now it's time to add the finishing touches and highlights that will bring it to life.
This step is all about enhancing the details and adding a touch of realism to your painting. Start by adding highlights to the rose's petals using a small brush and a light touch.
Focus on the areas where the light would naturally hit the rose, such as the edges and tips of the petals. Use a light, gentle stroke to apply the highlights, building up gradually to achieve the desired level of brightness.
Remember to vary the intensity of the highlights to create a sense of depth and dimension. You can also add highlights to the center of the rose, where the petals meet, to create a sense of softness and delicacy.
Conclusion
You've done it! Your rose is now a beautiful, lifelike masterpiece. Take a step back and admire your handiwork. With these 7 easy steps, you've transformed a blank canvas into a stunning work of art. Don't be afraid to experiment and try new techniques – the more you paint, the more confident you'll become. Happy painting, and remember, practice makes perfect!

